Bafang 750W Hub Motor – EVELO
4.9 (228) · € 41.00 · En Stock

48V 750W Bafang Brushless Geared Cassette Fat Tire Hub Motor 175mm Unlaced
48V 750W Bafang Brushless Geared Cassette Fat Tire Hub Motor 175mm
Unlaced
Please%20watch%20the%20below%20video%20to%20see%20how%20we%20got%20our%20750w%20motor%20to%20be%20smaller%20and%20lighter!%26nbsp%3B%0Ahttps%3A%2F%2Fw

750 Watt Fat Bike Hub Motor Core 175mm OEM

BAFANG 48V 750W Rear Hub Motor : 20 Inch Fat Tire
🚴[ WIDE COMPATIBILITY ] The BAFANG G062 48V 750W fat tire rear cassette wheel hub motor is compatible with bikes up to 9 speeds . With an OLD of 175mm

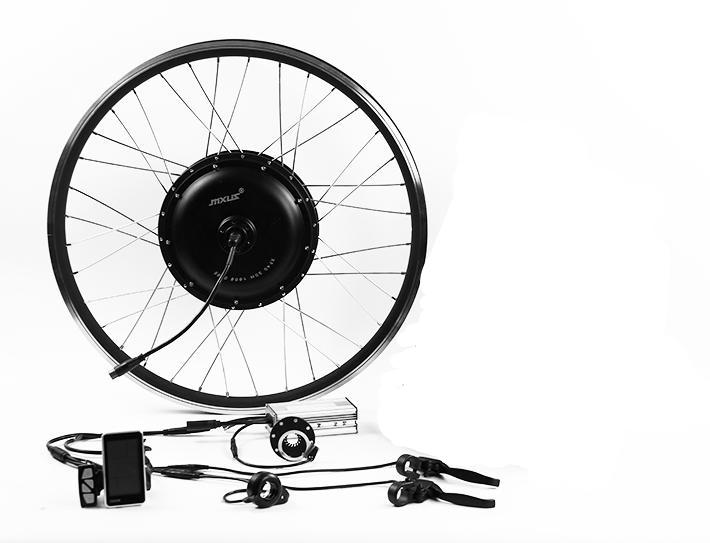
BAFANG 48V 750W Rear Hub Motor : 26 20 Inch Fat Tire Electric Bike Conversion Kit with Battery (Optional) for Rear Cassette Wheel with LCD Display

Bafang 48V 750W latest design Brushless Geared Fat Tire Hub
Rear wheel for Aries and Aurora hub bikes, black rim 26x40mm, Bafang 750 watt hub motor with cassette compatible freehub body, no cassette included

26 Rear Wheel with 750w hub motor
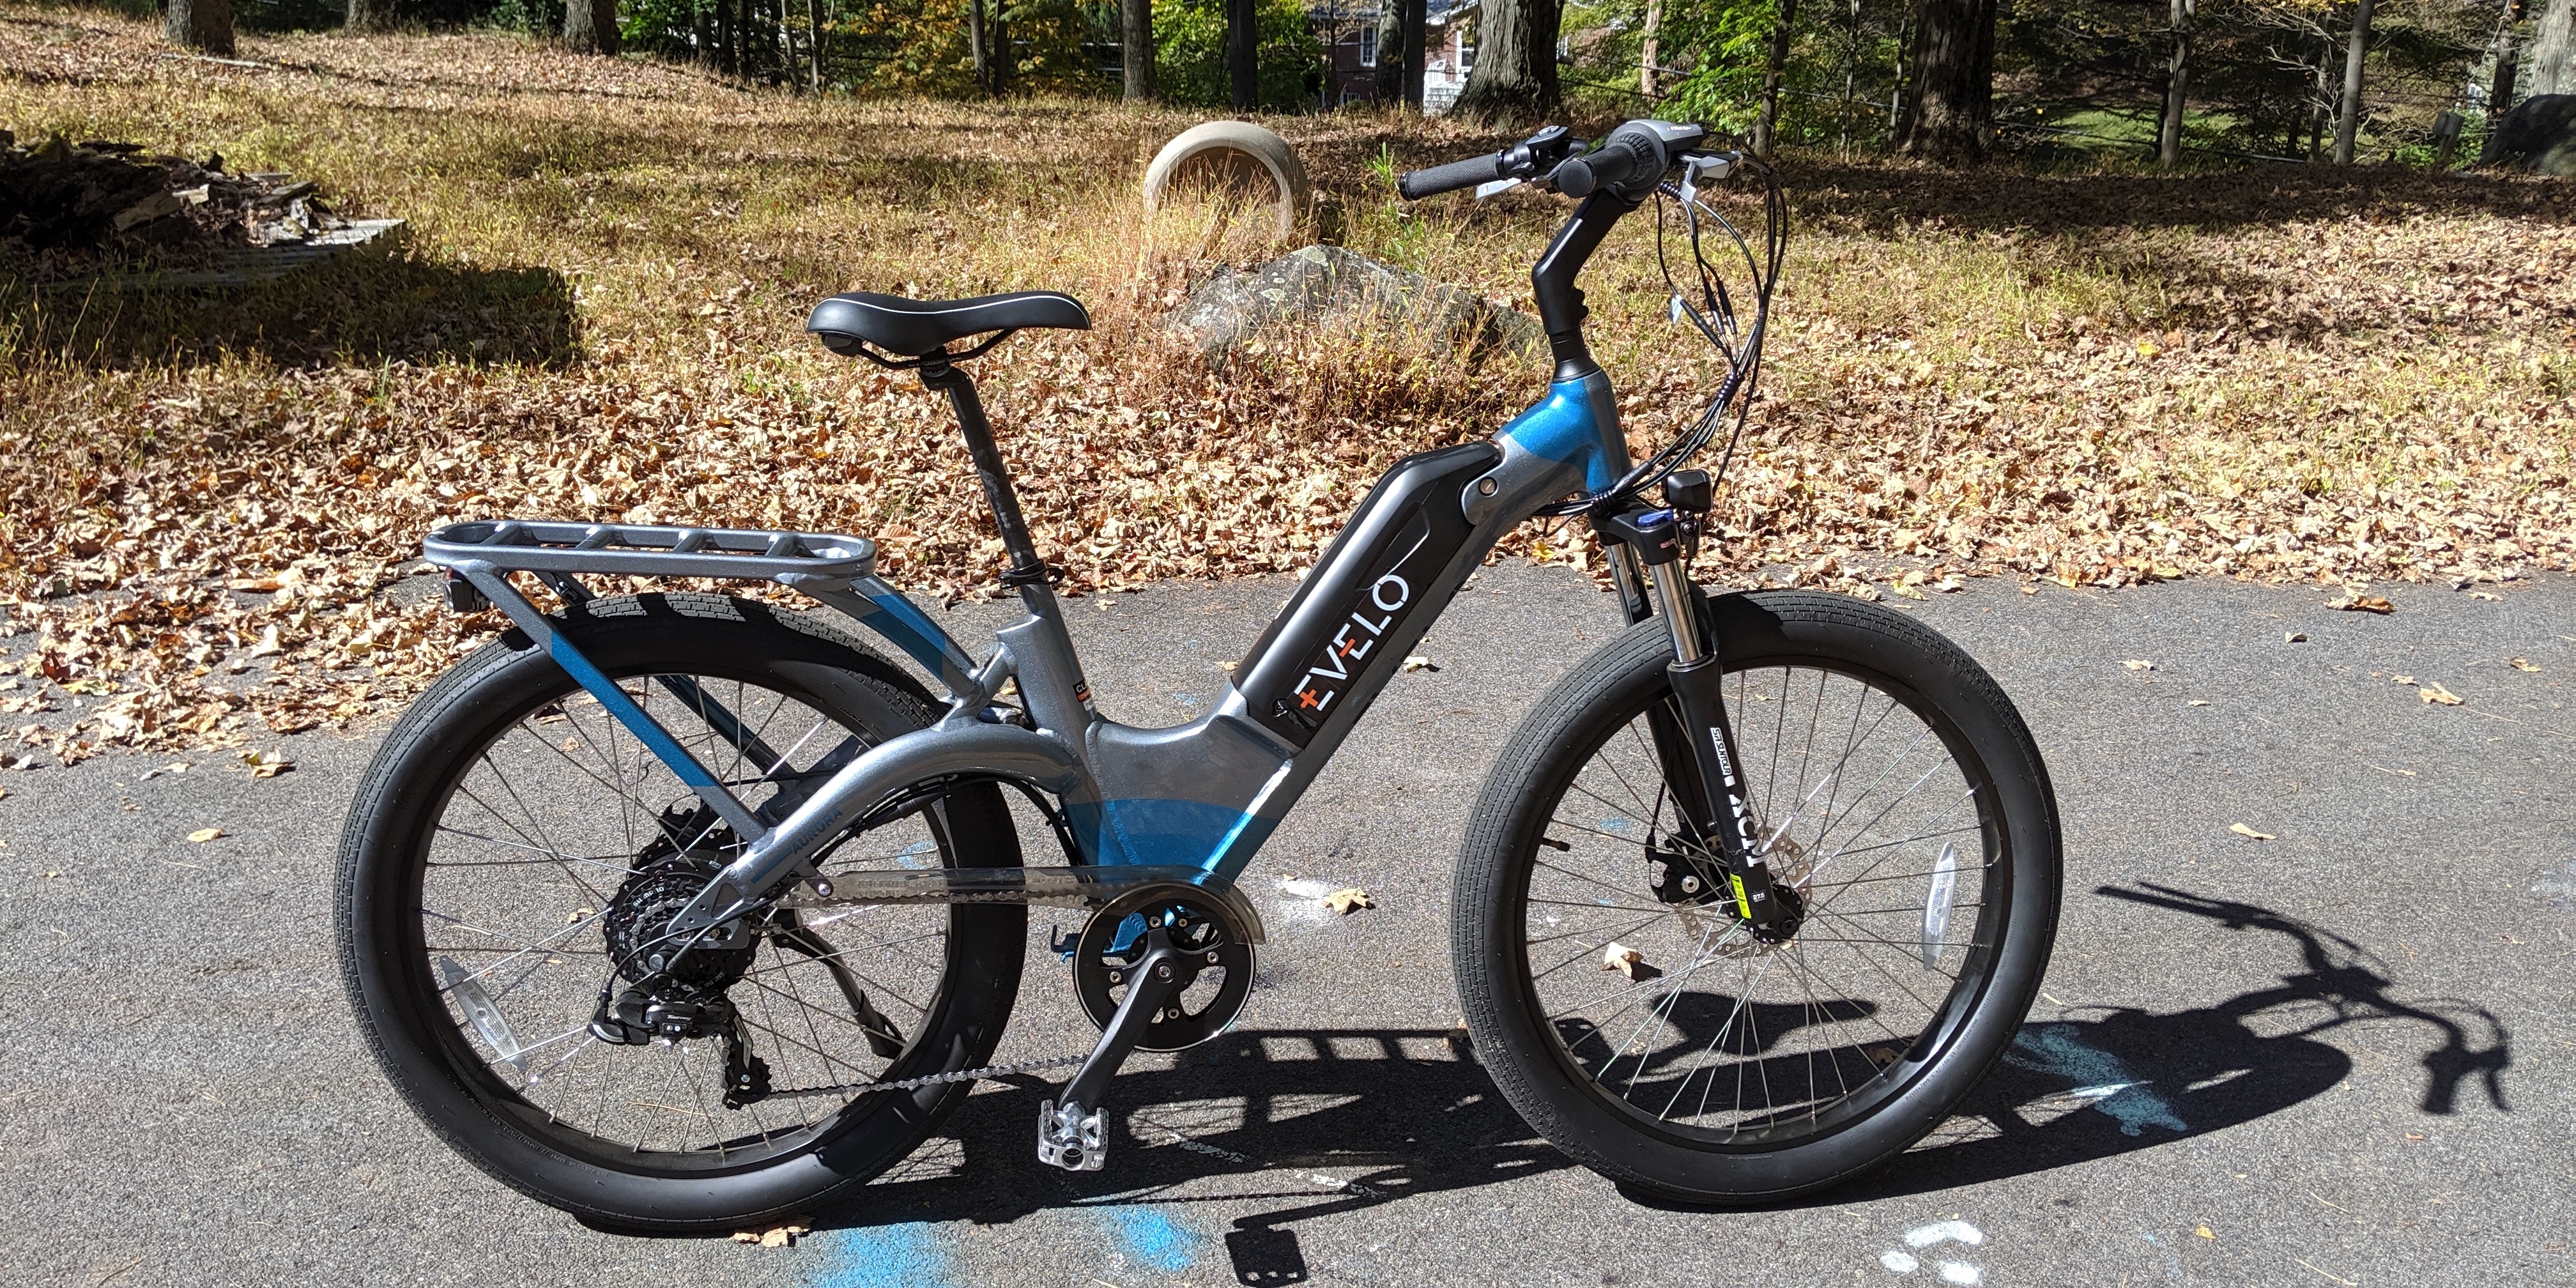
Evelo Aurora Hub-Drive is a 1 kW Cadillac of fat-tire road ebikes
750w Bafang Geared Hub Motor Left Side Cable
Evelo Aurora Hub-Drive is a 1 kW Cadillac of fat-tire road ebikes

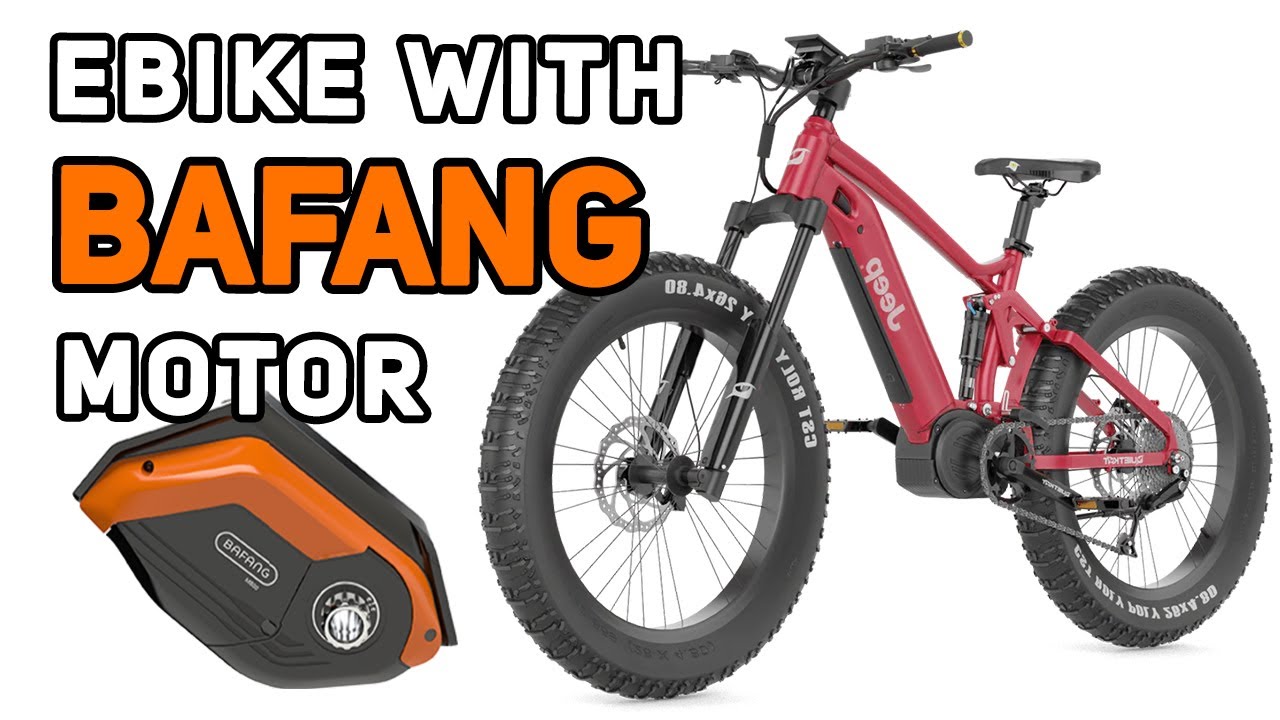
Bafang 48V 750W latest design Brushless Geared Fat Tire Hub Motor
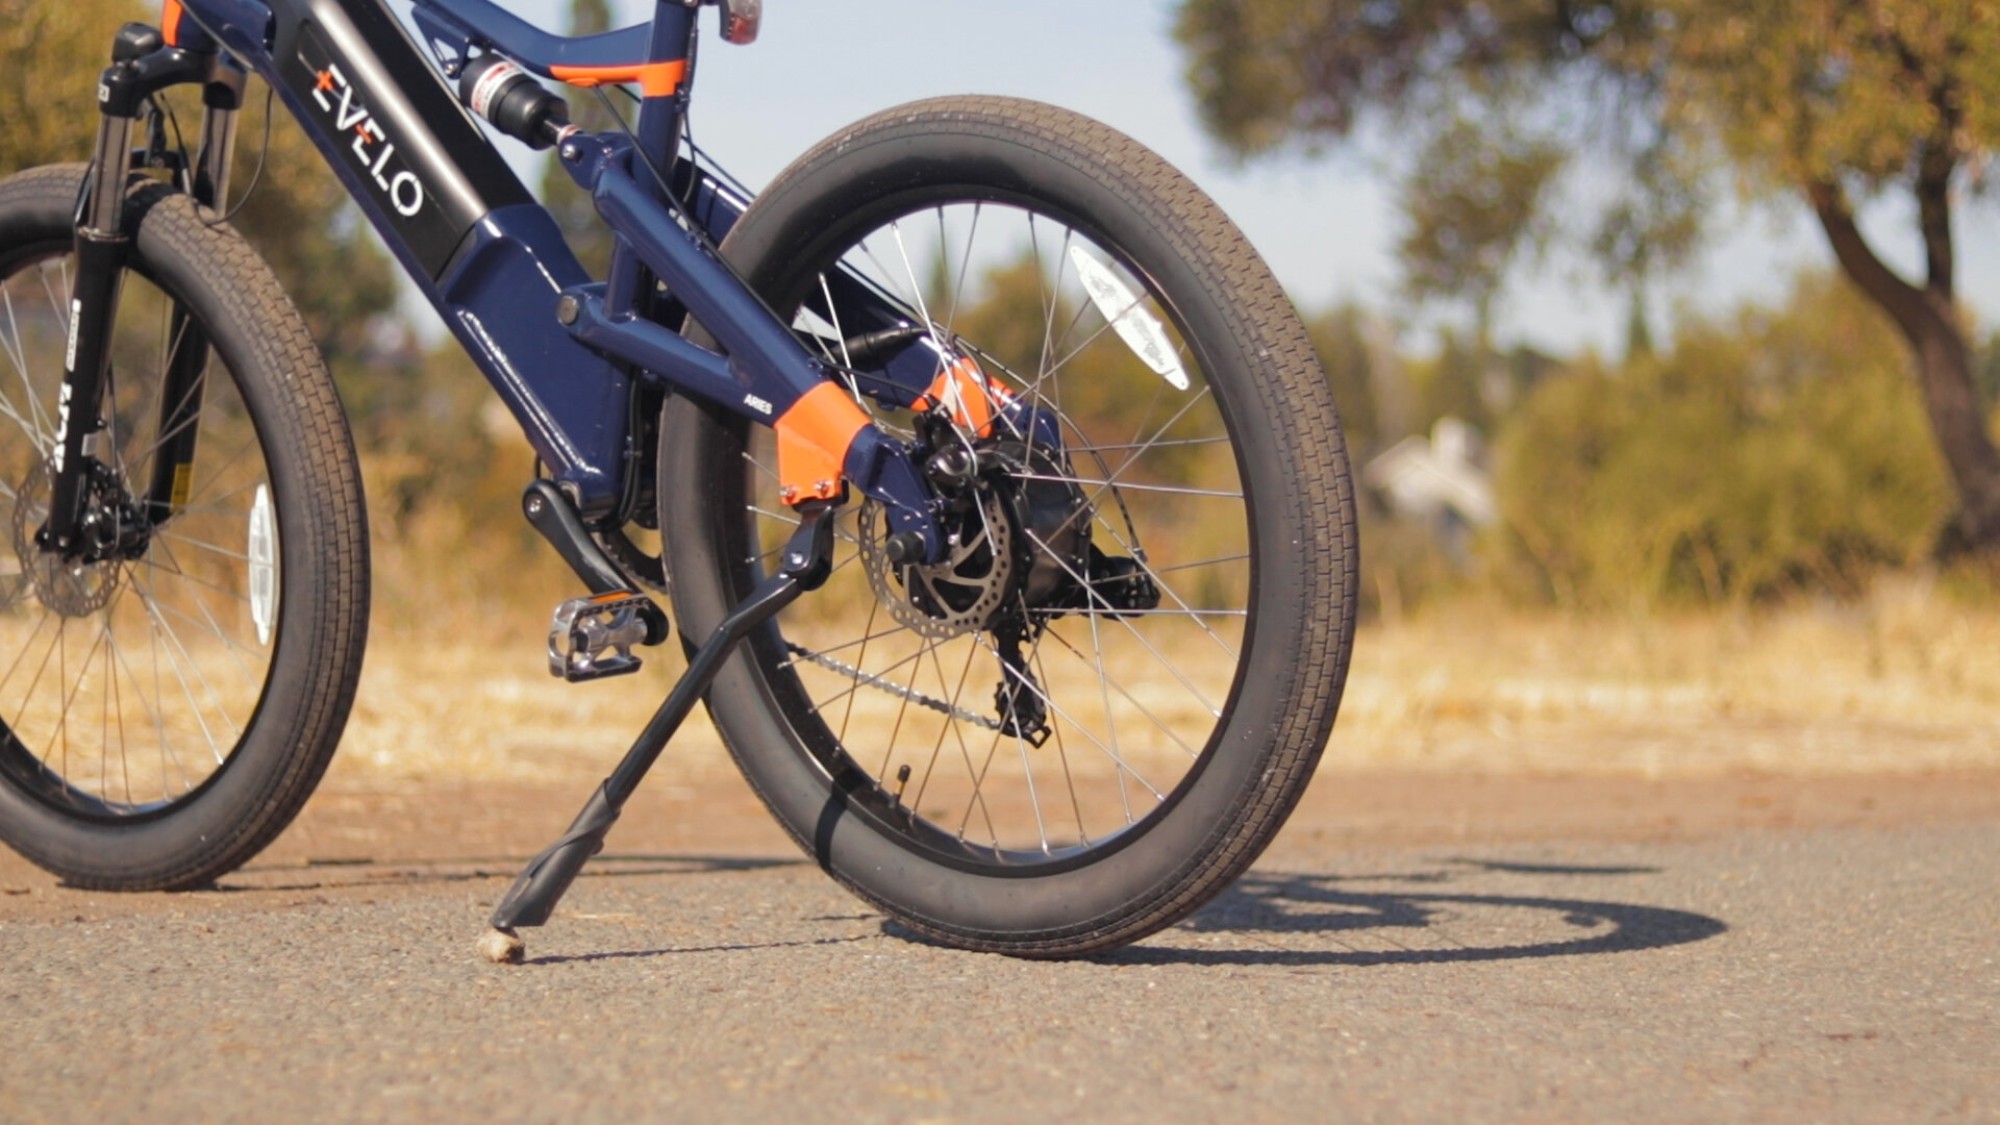
2019 Evelo Aries Review
🚴[ WIDE COMPATIBILITY ] The BAFANG G062 48V 750W fat tire rear cassette wheel hub motor is compatible with bikes up to 9 speeds . With an OLD of 175mm

BAFANG 48V 750W Rear Hub Motor : 26 20 Inch Fat Tire Electric Bike Conversion Kit with Battery (Optional) for Rear Cassette Wheel with LCD Display
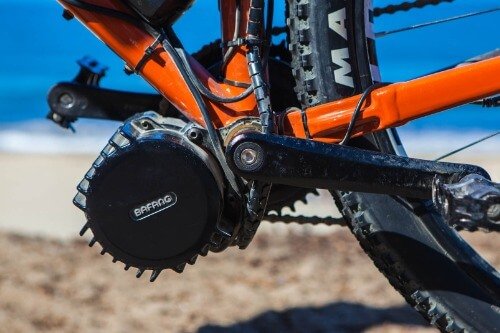
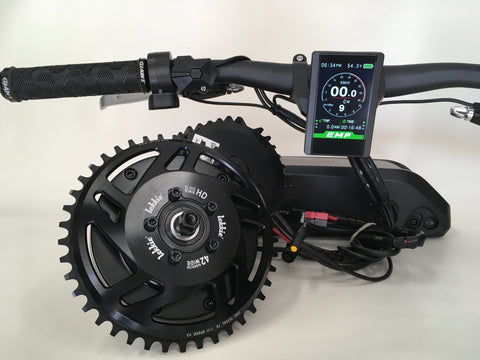
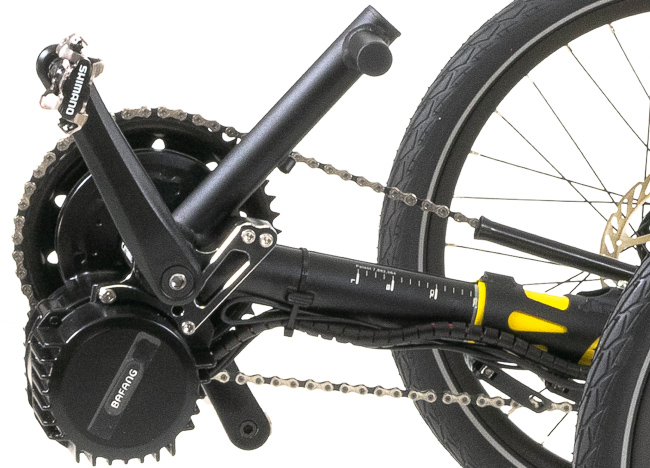
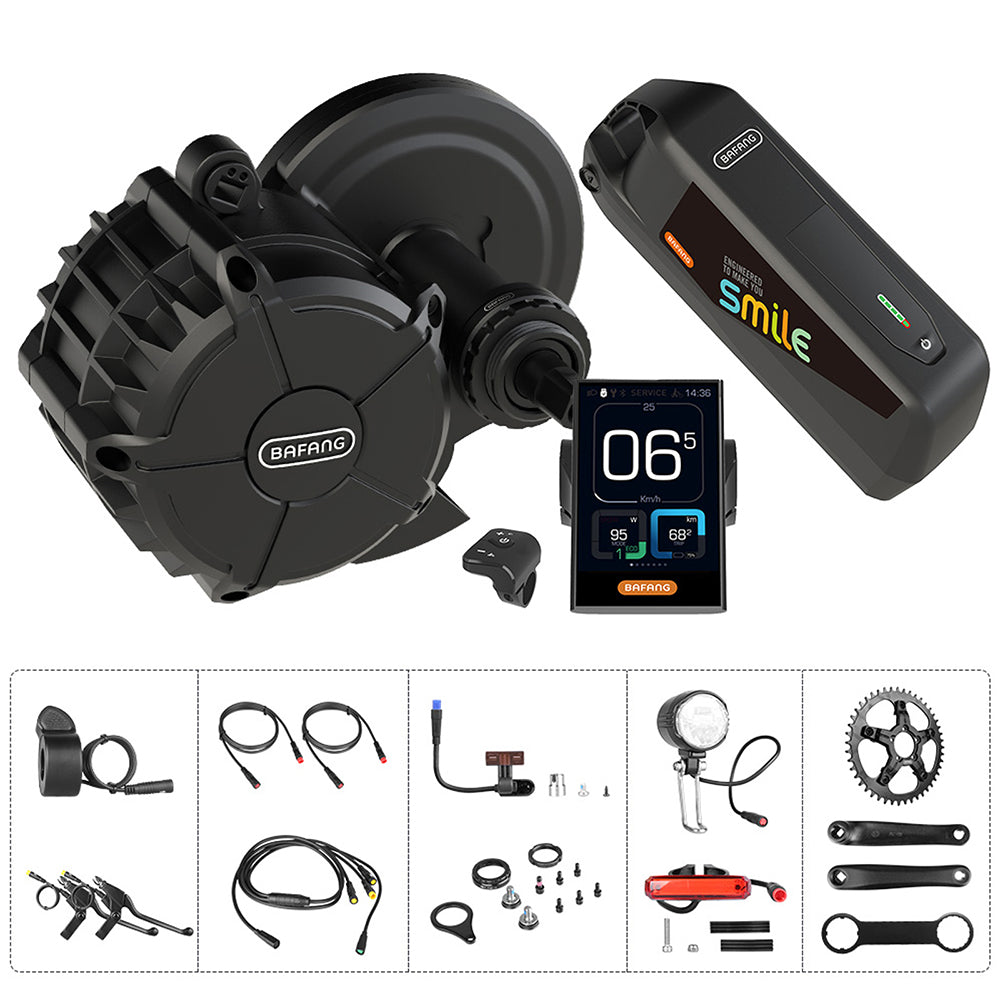
Bafang BBS02B street-legal mid-drive motor. This motor is rated at 750 watts. With 50% more torque and 100% more power than most motors.
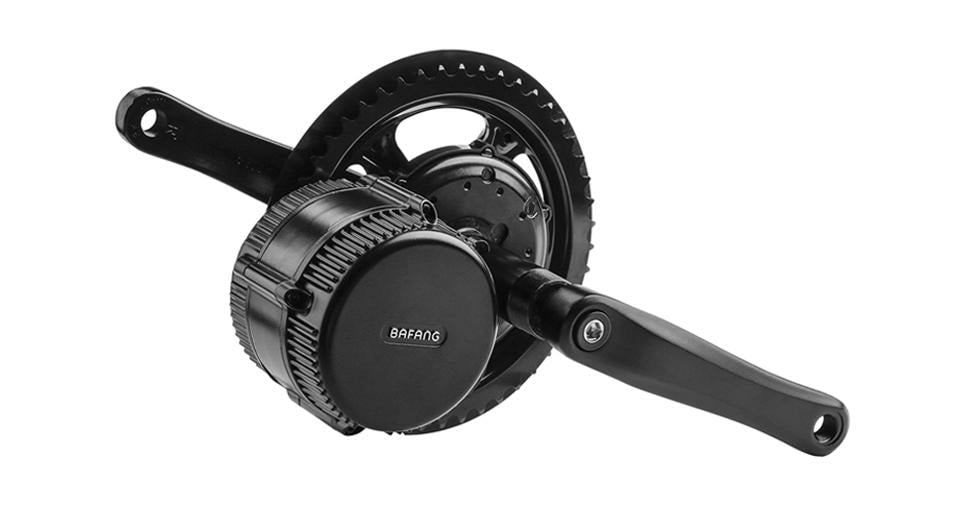
Bafang BBS02 750W Motor Kit
48V 750W Geared Rear Hub Motor – EBikeMarketplace
Please%20watch%20the%20below%20video%20to%20see%20how%20we%20got%20our%20750w%20motor%20to%20be%20smaller%20and%20lighter!%26nbsp%3B%0Ahttps%3A%2F%2Fw

750 Watt Fat Bike Hub Motor Core 175mm OEM

EVELO Delta Electric Mountain Bike Review Part 1 – Pictures


:max_bytes(150000):strip_icc()/Switch_SM3DWBowsersFury_2-2000-969941ba31f04ca98f71bb7319e8b478.jpg)